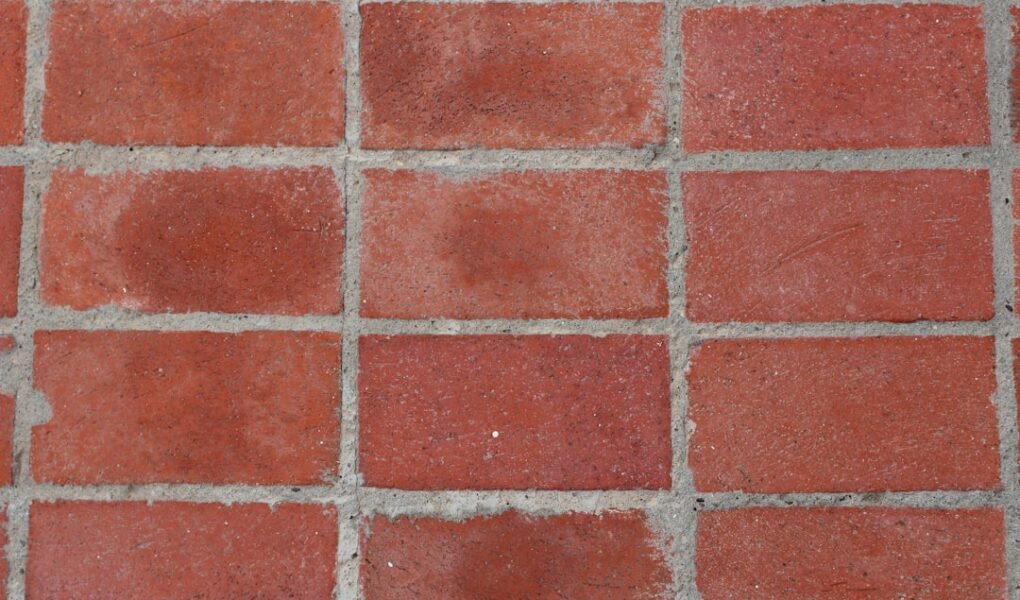

Is your tiled surface in need of some upkeep? Struggling to refresh the grout in your bathroom or kitchen due to stubborn old residue? You’re certainly not the only one facing this common challenge in home maintenance.
Dealing with hardened, unyielding grout can pose a significant obstacle for many DIY enthusiasts. Fortunately, with the right techniques and equipment, it’s entirely feasible to tackle this task effectively, empowering you to handle even the most demanding renovation projects with confidence.
In this guide, we’ll explore essential tips and strategies tailored for beginners, outlining how to safely and efficiently strip away aged, solidified grout from floors or walls. Continue on to discover the steps that will set you up for success in your next home improvement endeavor.
Essential Tools and Supplies
Before diving into the process, it’s vital to assemble the appropriate tools and materials to ensure a seamless experience. Begin with a grout removal implement, which might be a manual option for precision work. Alternatively, consider an oscillating tool equipped with a specialized blade or a rotary tool featuring a dedicated attachment, as these can expedite the job while minimizing effort.
Additionally, prepare a spray bottle containing water, a natural acid like vinegar, or a commercial softening agent—options that help break down the grout’s structure for easier extraction. Don’t overlook safety precautions; protective gloves and eyewear are crucial to shield against dust and potential irritants. According to industry estimates, proper safety gear can reduce accident risks by up to 50% in DIY projects.
Finally, incorporate a vacuum or a simple brush and dustpan setup for clearing debris post-removal. Having these items on hand from the outset promotes efficiency and helps maintain a tidy workspace, which is especially important in confined areas like bathrooms where dust can quickly accumulate.
How to Soften Grout for Removal
With your supplies in place, you’re ready to begin the core process—preparing the grout for extraction. Apply a liberal yet controlled mist of your chosen solution—whether it’s plain water, vinegar for its mild acidic properties, or a store-bought softener—directly along the grout lines. Aim for thorough coverage to penetrate deeply, but avoid excessive moisture that could damage surrounding tiles or substrates.
Allow the mixture to sit for approximately 5-10 minutes, giving it time to work into the material and loosen its hold. This waiting period is an opportunity to attend to another section or simply pause, as the chemical action continues. For context, studies show that vinegar can enhance softening by up to 20% compared to water alone due to its ability to dissolve mineral buildup.
The emphasis here is on allowing ample time for the solution to take effect, transforming what might otherwise be a labor-intensive chore into a more straightforward operation.
Removal Time
Once the waiting is done, select your grout removal tool and proceed with care. Gently work the tool along the now-softened lines, focusing on gradual removal to preserve the integrity of the tiles and adjacent surfaces. Excessive force can lead to cracks or chips, so proceed methodically.
For manual tools, follow the natural contours of the grout and tackle the area in manageable segments to avoid strain. If opting for powered tools like an oscillating or rotary model, maintain a steady pace and hold the blade at roughly a 45-degree angle for optimal control and effectiveness. Experts recommend this angle to minimize the risk of slippage, which affects about 15% of first-time users.
As you progress, regularly clear away the loosened debris using your vacuum or sweeping tools. This not only improves visibility for ongoing work but also contains dust, preventing it from settling elsewhere in the room and simplifying cleanup overall.
Final Touches
With the grout fully extracted, turn your attention to thorough cleaning of the tiles and remaining areas. Use a damp cloth or sponge to eliminate any lingering residue, ensuring a pristine finish. For persistent spots, a soft brush dipped in water or vinegar can provide gentle abrasion without causing harm.
Afterward, allow the surfaces to air-dry completely—typically 30 minutes to an hour—before applying any new sealant. This drying phase is critical, as inadequate drying can lead to moisture-related issues like mold growth or discoloration, which impact up to 10% of improperly maintained tiled areas.
Enjoy Your Renewed Surfaces
And there you have it—you’ve now mastered the essentials of preparing and removing grout. Put these methods into practice to revitalize your spaces with ease.
Keep in mind that honing these skills comes with repetition, and the investment in time and resources is modest for the rewards. Tailor the approach to suit your specific needs and setup for the best outcome.
For additional expert advice and straightforward tutorials on various DIY tasks, explore our site regularly. Your journey into home improvements is just beginning!